Custom Design Process
We create tailored designs from the ground up based on your business needs and vision
Our Design Process
We start with a custom base design created specifically for your business, requirements, and brand identity. You'll have full visibility and input throughout the entire process—from concept to launch.
Initial Consultation & Discovery
Submit a design request form or reach out directly to kick off our collaboration. We'll discuss your business, understand what you do, and explore your unique value proposition. Together, we'll identify your business goals and discover how a well-crafted website can help you achieve them.
Define Site Requirements
We work together to map out your website's structure and functionality. This includes determining how many pages you'll need, what content will live on each page, and identifying essential features such as contact forms, newsletter integrations, e-commerce capabilities, booking systems, and other custom functionality that aligns with your business objectives.
Design Direction & Foundation
We'll determine whether starting from one of our professional examples or building completely from scratch best suits your needs. During this phase, we explore your brand identity through discussions about color palettes, typography preferences, layout styles, and visual elements that will make your website uniquely yours.
Initial Build & Mockup Creation
Using everything we've discussed, we create the initial version of your website and share our progress with you. This first build serves as an excellent starting point that allows us to ensure we're aligned with your vision before moving forward. You'll be able to see your ideas taking shape and provide early input.
Refinement & Development
Based on your feedback from the initial build, we continue constructing and refining the rest of your website. Throughout this phase, we maintain open lines of communication, keeping you updated on progress and incorporating your thoughts and suggestions to ensure the final product exceeds your expectations.
Launch & Ongoing Support
Once approved, we build and launch your custom site with ongoing support and communication. This includes regular updates, bug fixes, and any necessary adjustments to keep your website running smoothly and looking great.
Open Communication Throughout
Your feedback matters at every stage. We maintain open lines of communication to ensure your vision comes to life exactly as you imagined—and we don't launch until you're 100% satisfied.
Start Your ProjectExplore Our Examples
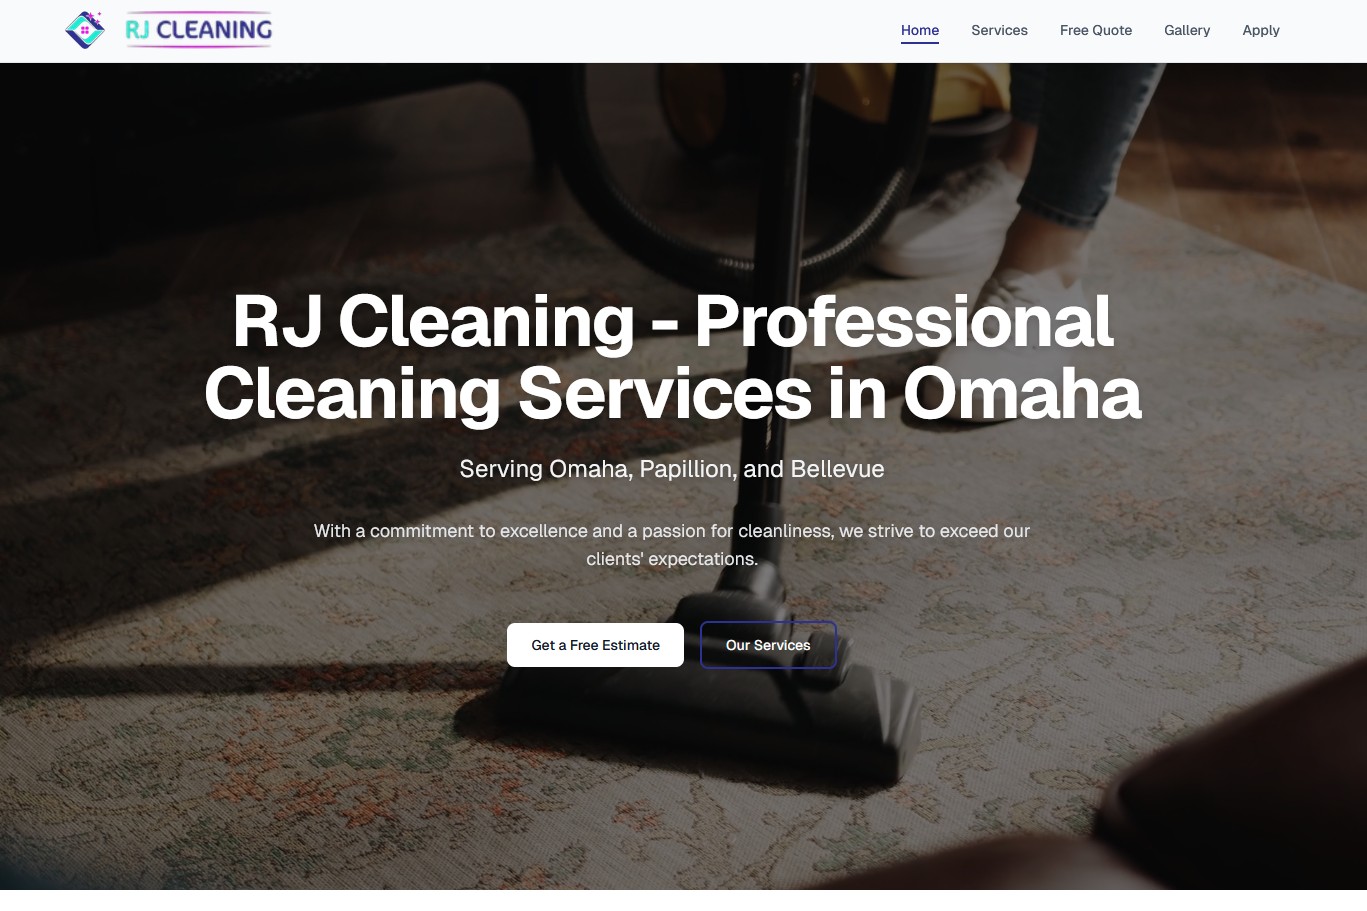
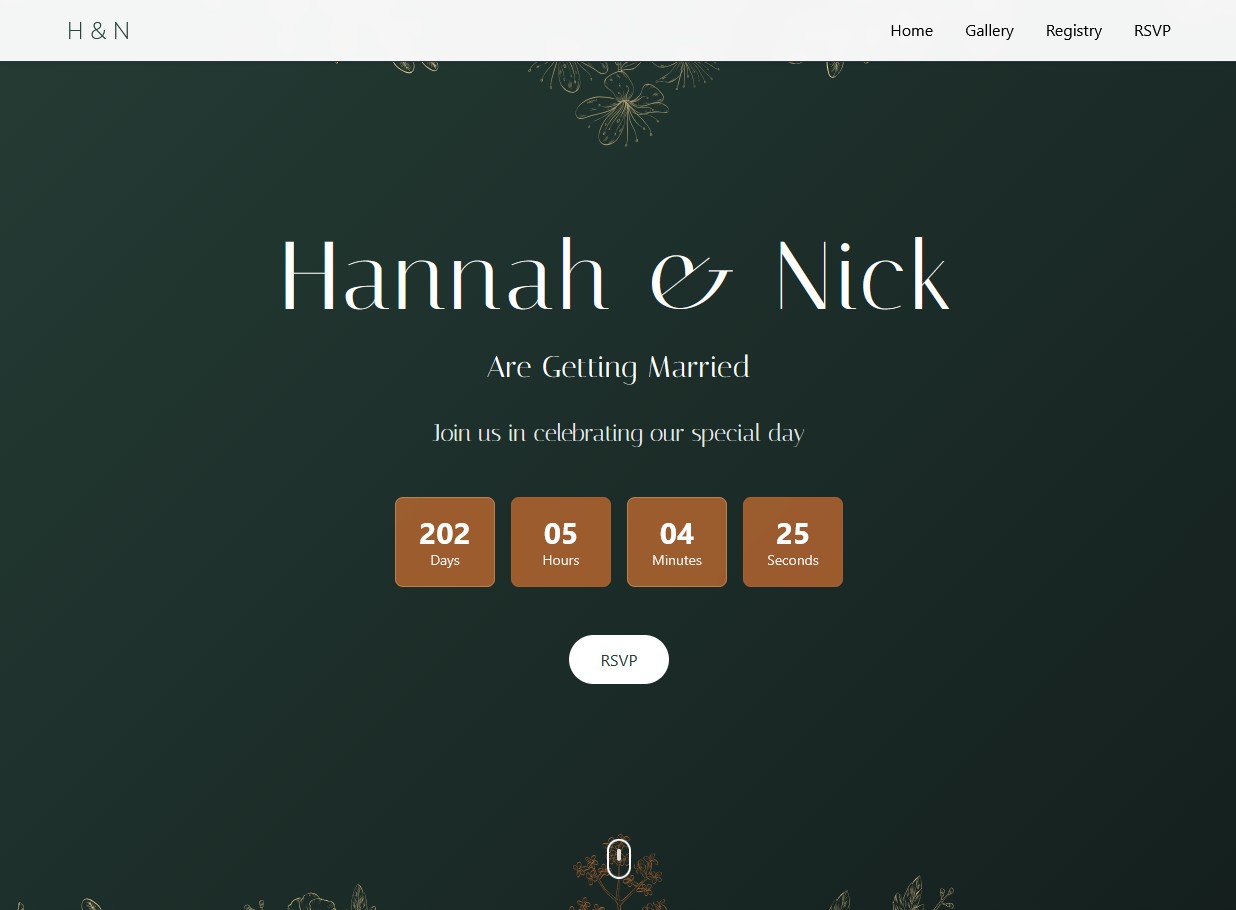
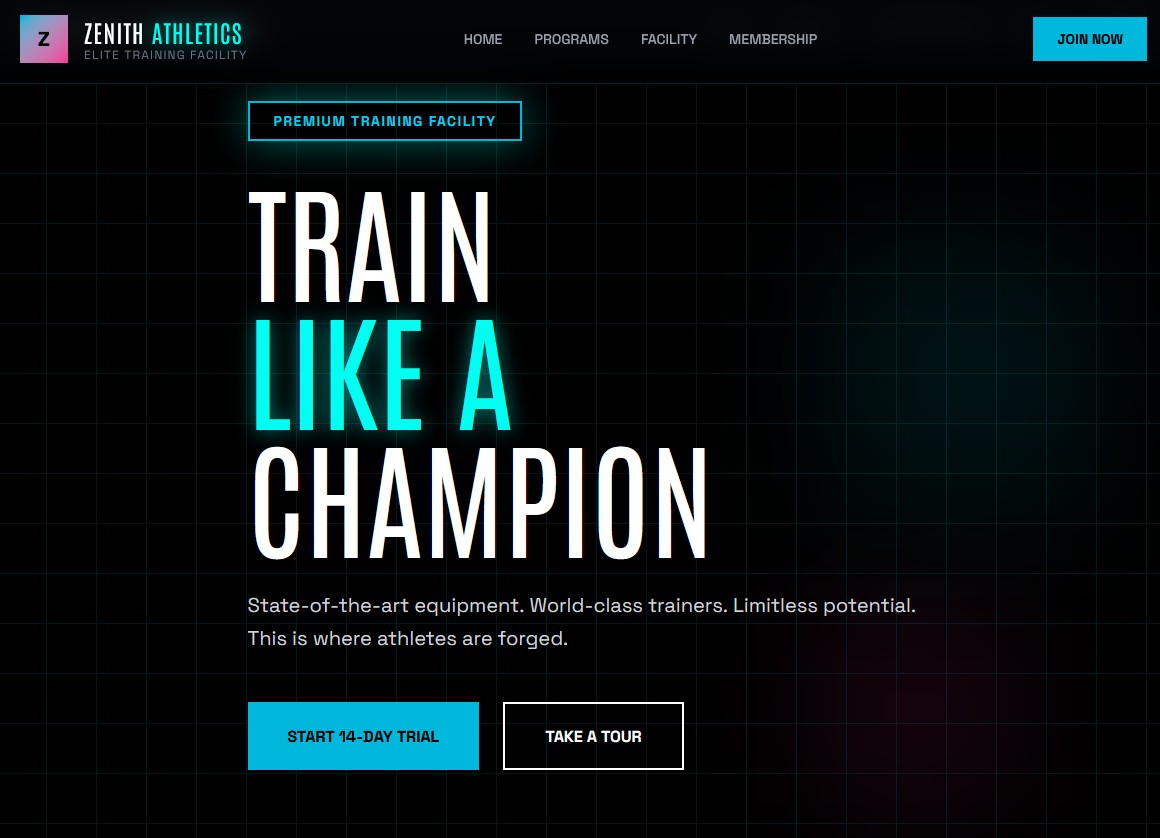
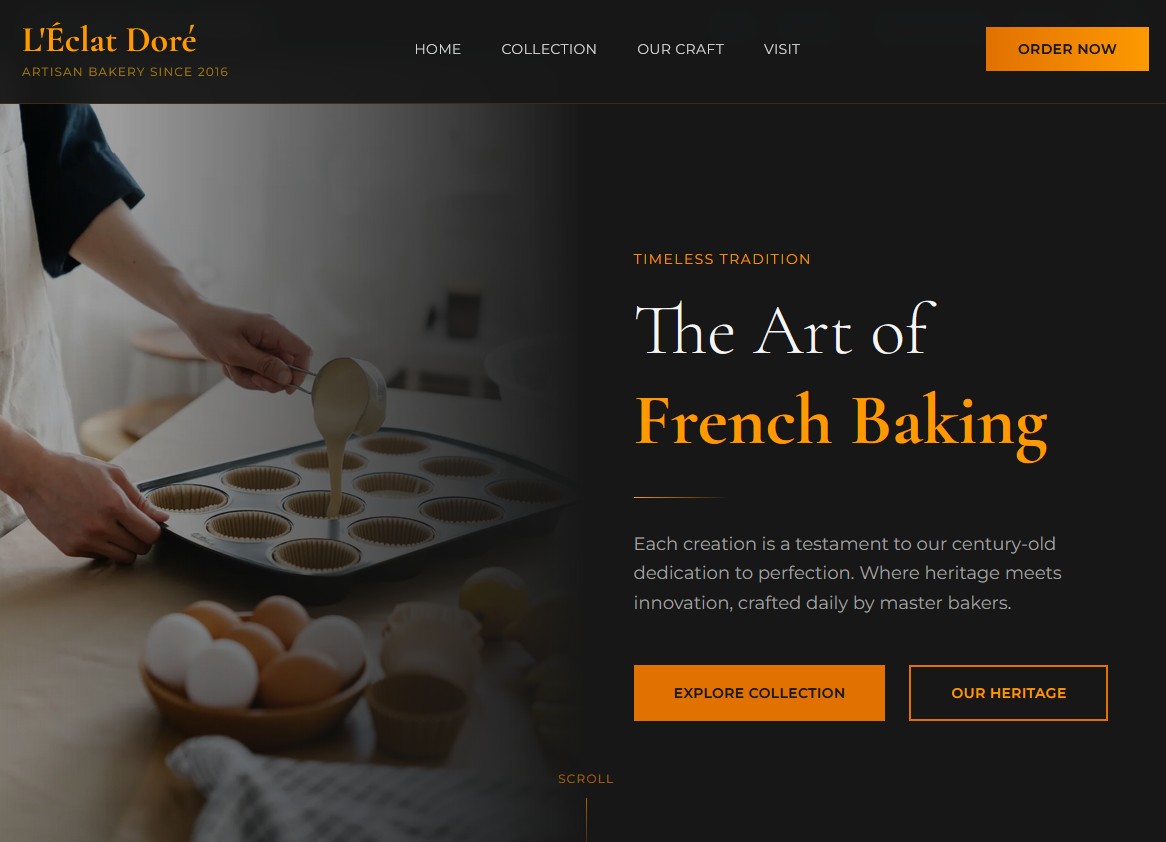
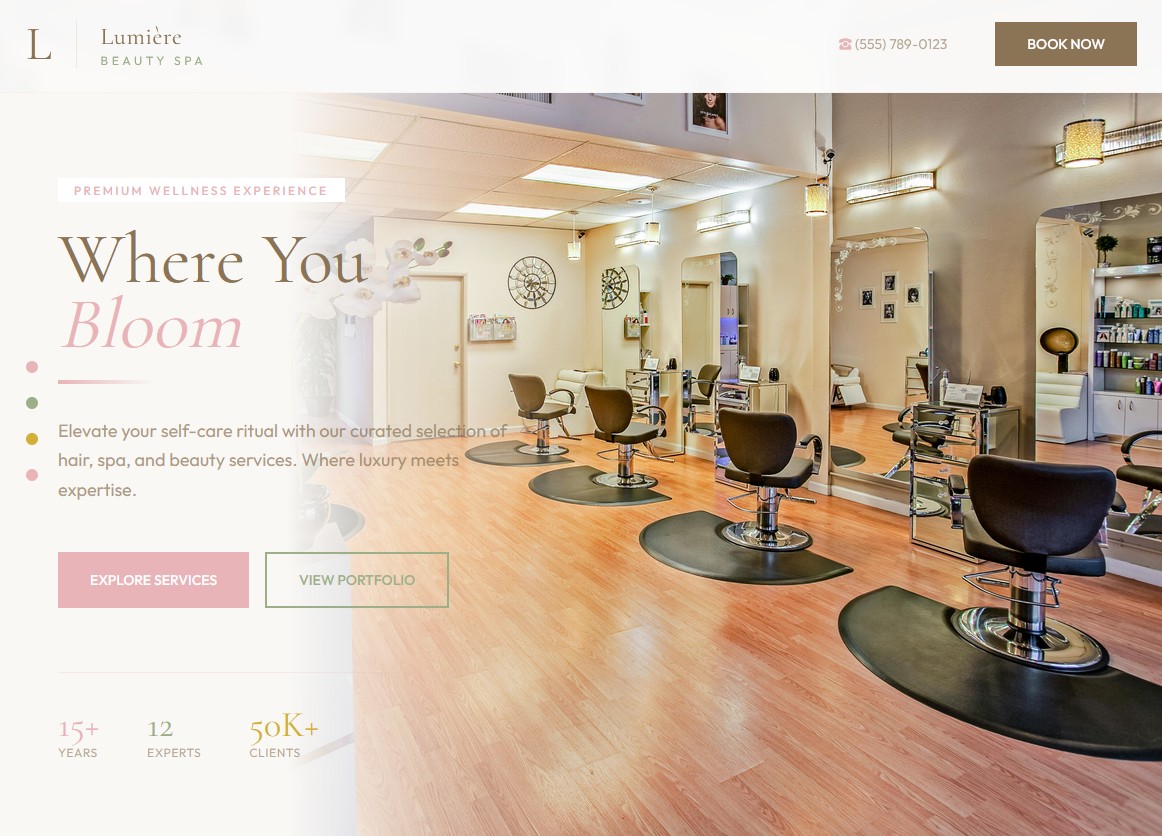
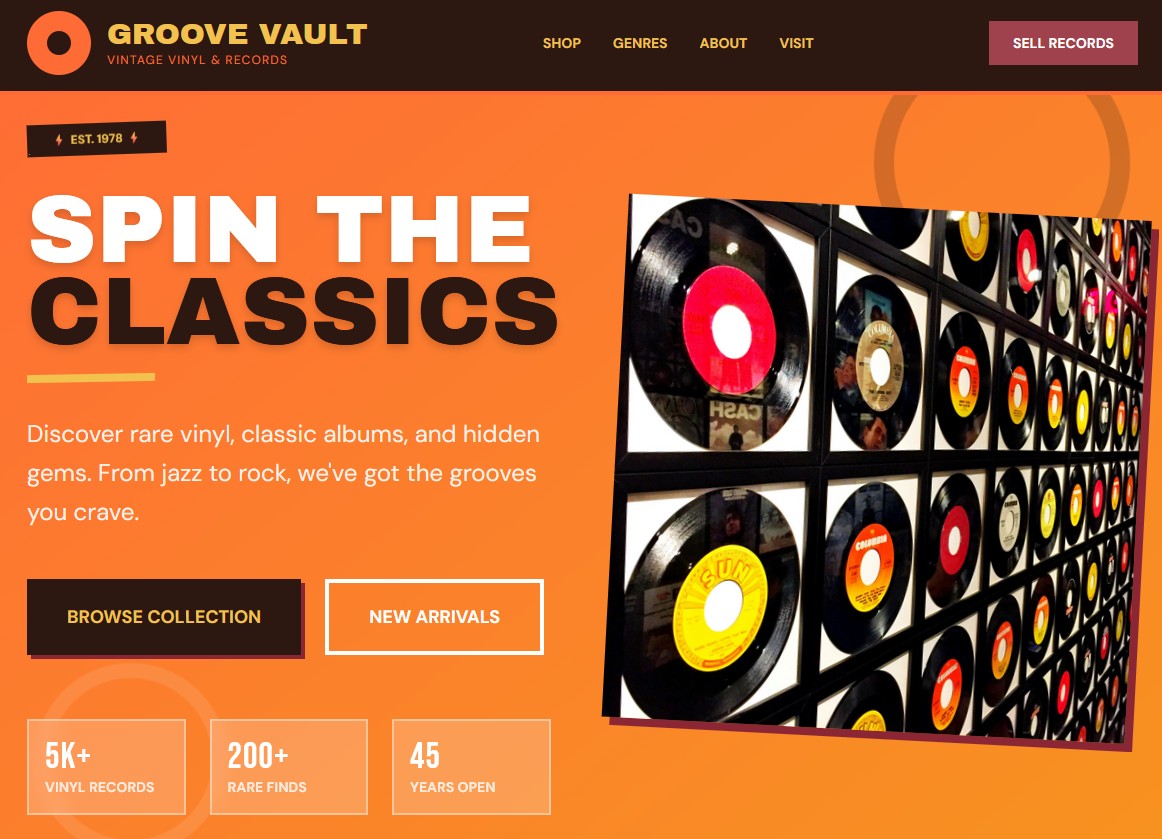
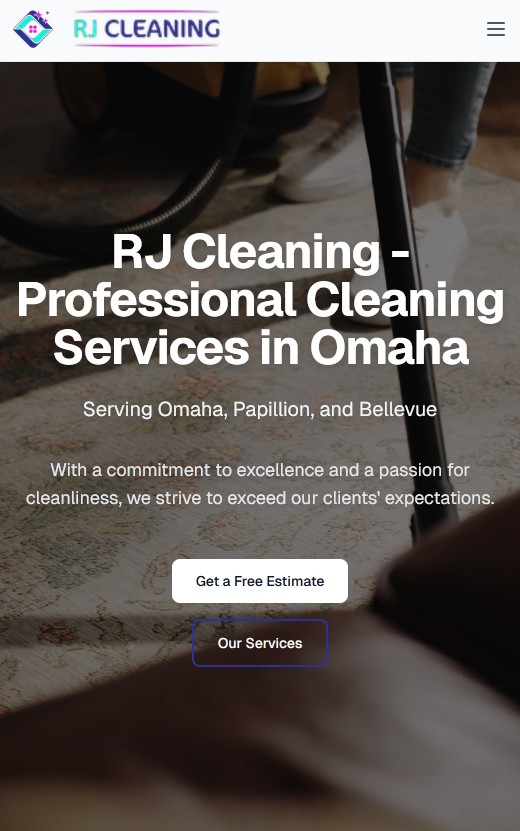
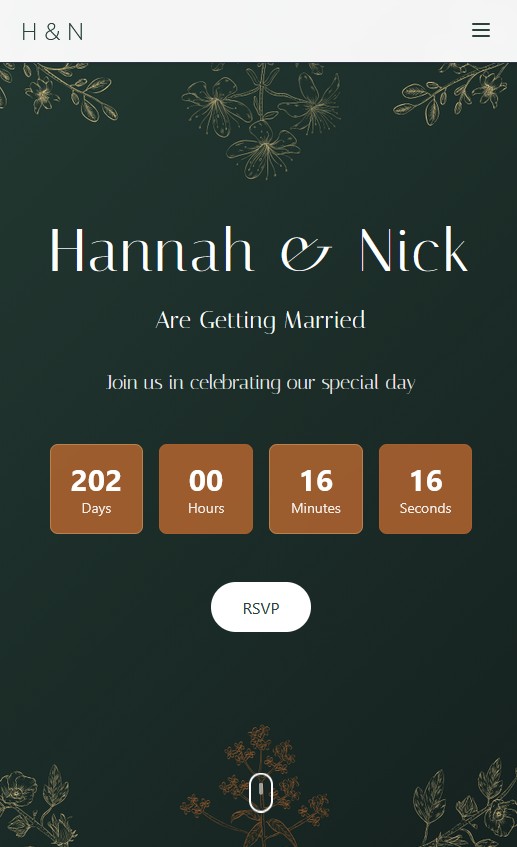
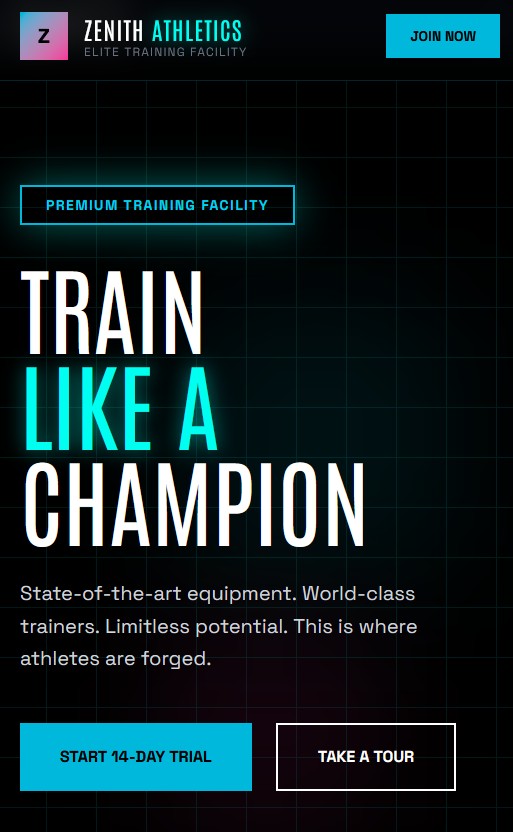
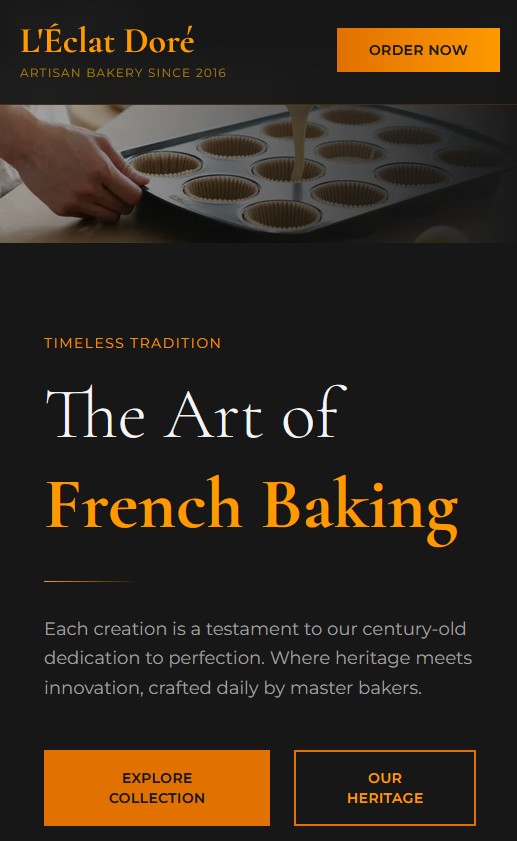
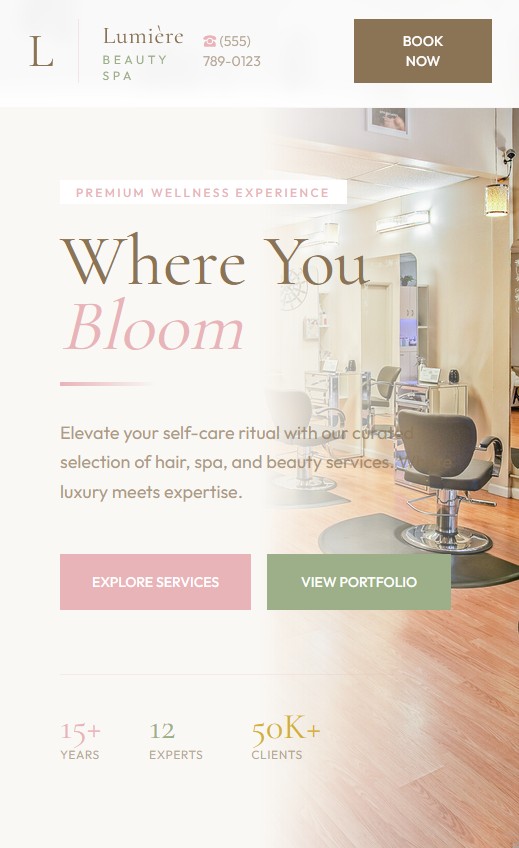
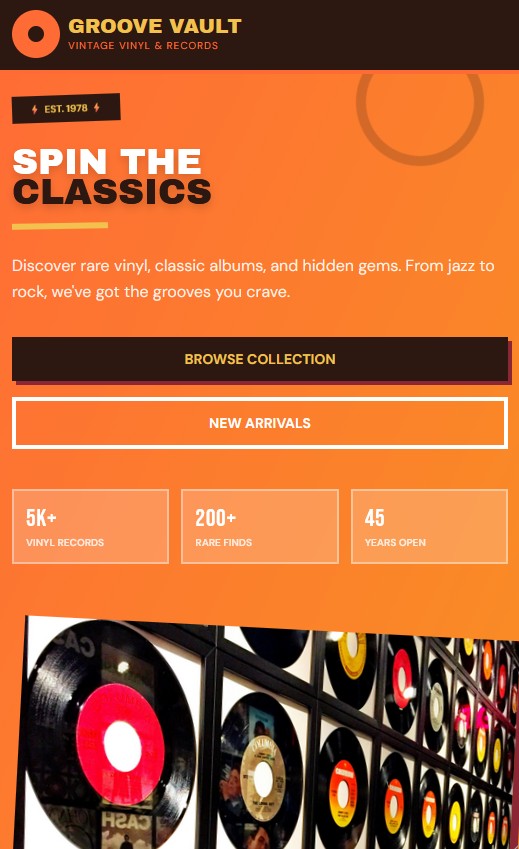
Browse our professionally designed example websites across various industries. You can use an example as inspiration, or pick and pull specific elements, layouts, and design ideas from any example to incorporate into your custom build.
Each example showcases different layouts and features to inspire your project.
Ready to see all the examples in detail? Browse the full collection and find inspiration for your project.
View All ExamplesUI Component Library
Explore our extensive collection of pre-built UI components, transitions, and animations. Mix and match elements to create the perfect user experience for your website.
Categories
Buttons
Various button styles for different use cases
Primary Buttons
Outline Buttons
Icon Buttons
Want to see all components in action with full interactive examples?
Explore Full Component LibrarySubmit Your Design Preferences
Once you create an account, you'll be able to submit a comprehensive design request form that includes all your preferences and requirements.
- Describe your business type and industry
- Define your website requirements and desired features
- Share design preferences, colors, and visual style ideas
- Upload your logo and existing brand materials
- Request is sent directly via email for quick communication
